To store walnuts after harvest, remove the outer hull, reject damaged nuts, then dry the walnuts in their shells with air moving freely around them. Do not seal them in a container until a test kernel and the internal divider have become crisp and brittle. Trapped moisture, rather than the calendar alone, is what turns a promising crop into a mouldy one.
Fresh walnuts and dried walnuts are not the same
A fresh walnut is not simply a dried walnut gathered that morning. Its kernel still holds more moisture and has a milder texture. France’s Ministry of Agriculture describes fresh walnuts as a delicate seasonal product, mainly available from September to November, which should be refrigerated and eaten promptly.
If you want to keep the harvest for longer, drying is therefore a real processing step. A sack left in a damp shed is not drying evenly; the nuts need ventilation, regular checking and protection from rain.
1. Gather often and sort straight away
Pick up fallen walnuts promptly, especially after wet weather. Guidance from Oregon State University and Utah State University warns that mature nuts lose quality when they remain on damp ground, where mould, staining and decay can begin.
Sort before you start drying:
- remove nuts with cracked, soft, badly stained or perforated shells;
- discard any nut with visible mould or an abnormal smell;
- keep very wet nuts apart from the cleaner, drier part of the crop;
- leave sound walnuts in their shells, which protect the kernels while they dry and during storage.
The green or brown hull can stain hands and irritate sensitive skin, so wear gloves when removing it. A stubborn, wet hull should be dealt with promptly rather than left to keep the rest of the batch damp.
2. Remove the hull and give the nuts room to breathe
Once the hull is off, spread the walnuts in a single layer on a clean mesh tray, screen or slatted surface. Air needs to pass underneath as well as around them. A loose mesh bag can work for a small batch if it is hung up and shaken daily; a dense sack sitting on the floor holds moisture in.
Use a dry, rain-sheltered space, with the nuts kept off the ground and protected from rodents. Turn them every day and break up any clusters. Direct sunshine is not essential: airflow matters at least as much as warmth.
Where temperature can be accurately controlled, US extension services put the useful drying range at about 35–41°C (95–105°F) and warn that quality may suffer above roughly 43°C (110°F). A domestic oven is often too hot and has poor airflow at its lowest setting. At home, a dry room, a ventilated tray and patience are usually easier to control. Drying may take several days and longer in cool or humid air, so a fixed timetable cannot replace a kernel test.
3. Test dryness instead of guessing
Take several walnuts from different parts of the tray and crack them open. The kernel should no longer bend or feel rubbery. It should snap cleanly, and the thin packing tissue between the two halves of the shell should also be dry and brittle.
If the kernel still flexes or the inside feels damp, return the whole batch to the drying area and keep the air moving. Sealing incompletely dried walnuts in a jar or box creates exactly the humid conditions you are trying to prevent.
4. Store only after the batch is fully dry
Keep properly dried walnuts in their shells in a cool, dry and dark place. Use a clean, odour-free container. Before closing any airtight container, make sure every part of the batch is dry; label it with the date and inspect it regularly.
Shelled kernels are more exposed to oxygen, surrounding smells and rancidity. Put them in airtight packaging in the refrigerator or freezer. UC IPM also recommends freezing hulled walnuts for 48 hours before long-term storage to kill possible insect pests and eggs.
Whichever method you use, check the container frequently at first. Condensation, a musty smell, a softened kernel or a rancid taste means the batch should not be used. Never taste a visibly mouldy nut in an attempt to judge whether it can be saved.
What if the harvest is larger than you can use?
Keep a manageable amount that you can actually monitor. Sound surplus walnuts can then circulate locally instead of sitting forgotten in an oversized pile. Browse produce available nearby, consider ways to share a garden surplus, or place walnuts in their wider seasonal context with the autumn produce guide.
A five-step checklist
- Gather frequently and isolate damaged nuts.
- Wear gloves and remove the hull promptly.
- Spread walnuts in one well-ventilated layer.
- Crack several test nuts: kernel and divider should be brittle.
- Store cool and dry, then monitor smell, moisture and texture.
Sources
- French Ministry of Agriculture — Fresh and dried walnuts
- University of California IPM — Harvesting and Storing Walnuts
- Oregon State University Extension — Harvesting, Handling, and Storing Nuts from the Home Orchard
- Utah State University Extension — Walnuts in the Home Orchard
- University of California ANR — Nuts: Safe Methods for Home Gardeners to Harvest, Store, and Enjoy
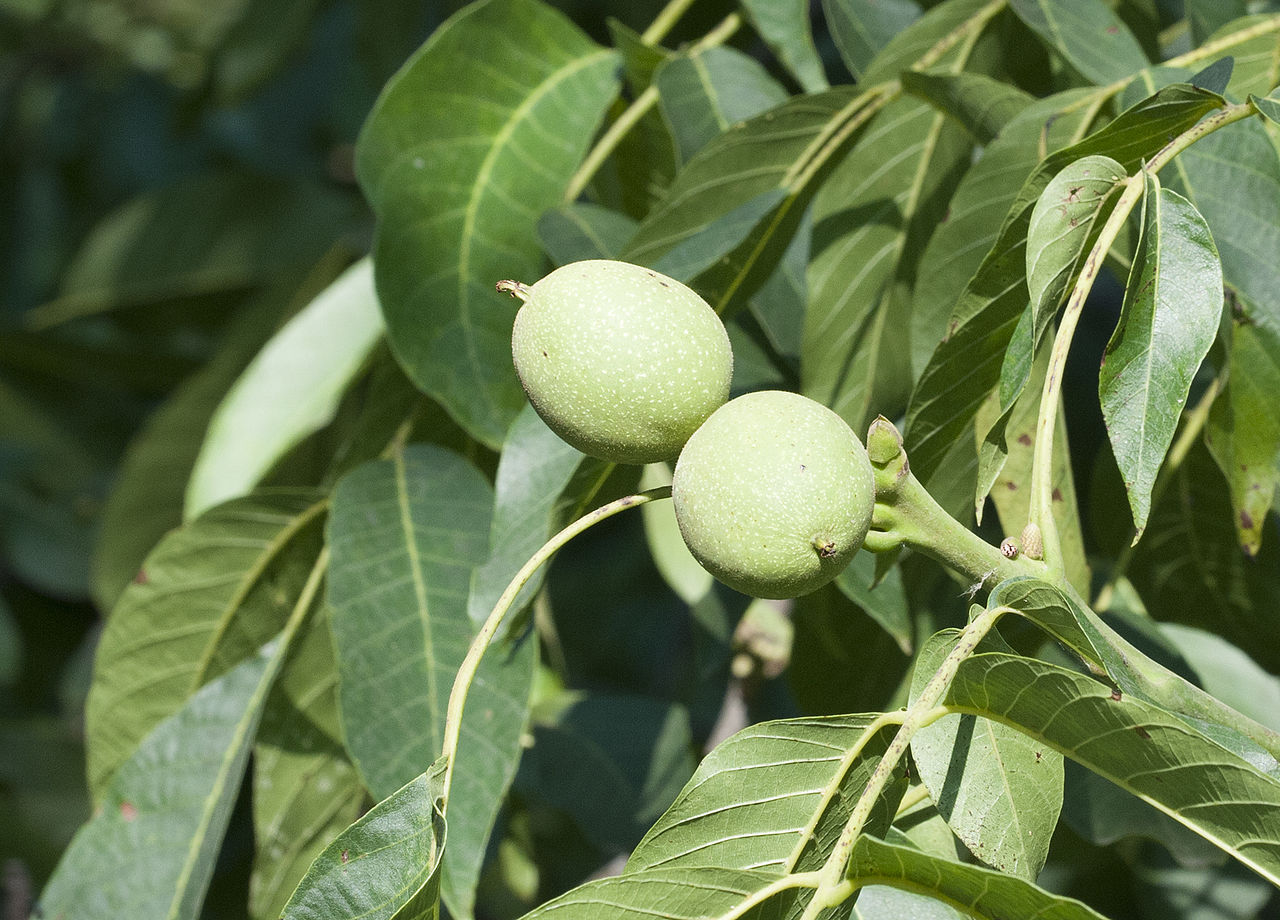
Photo credit: “Fresh walnuts”, Zeynel Cebeci, Wikimedia Commons, licensed under CC BY-SA 4.0. Wikimedia resize only.
